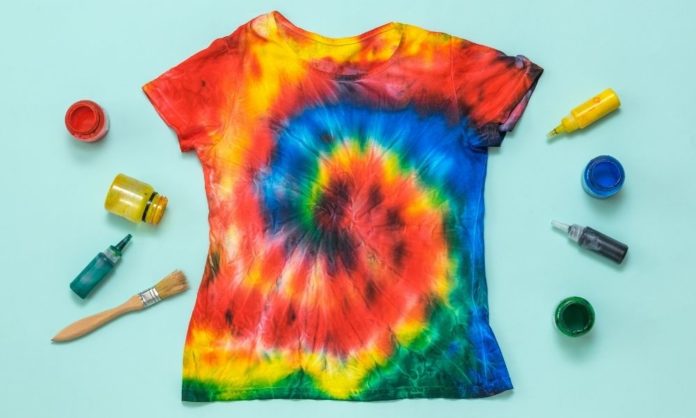
We’ve all seen the different colors and patterns used when tie-dying clothing, linens, and more, but this year the trend has found an innovative extension of creativity. Reverse tie-dye is the newest and most inventive way of no longer limiting wardrobe colors than can be dyed. Following a few tips for the best items to tie-dye will give you the information you need on the most suitable fabrics, objects, and ways tie-dye can work for you.
Tie-Dye Practices
There are mixed opinions about best practices when tie-dying materials. The most consistent results come from the following instructions. The first thing you’ll want to do is fully saturate your chosen fabric. Dip in a basin of water or soak it under a faucet. The general consensus in the tie-dying community is “the wetter, the better.”
Once wet, lightly wring out the material and fold your shirt depending on the style you want the dye to be presented in. There are various pattern guides online to help you achieve the finished look you’re seeking. This is the time to put protective gloves on your hands to guard them from being dyed by harsh chemicals.
After you’ve folded your material, bind it with rubber bands or string. The bindings will liberally break up the solidity of your project’s colors. From there, if you’re embarking on a journey into reverse tie-dye, add your dye or bleach. Leave this to fully dry for no less than twenty-four hours, more if possible. Your colors will be more vibrant and set. Then rinse thoroughly until water runs clear.
Reverse Tie-Dye
Though reverse tie-dye wasn’t discovered this year, the trend hit the spotlight in early 2020. No longer is this clothing dying technique limited to white or light-colored cloth. With reverse tie-dye, you bind your dampened material of black or another color and use liquid (from the bottle or spray) or gel bleach where you’d ordinarily apply colored dye.
Leave it to dry in a ventilated area or wrap it in a bag to set while avoiding toxic fumes, again for a minimum of twenty-four hours. Rinse carefully, with gloves on. The longer you leave the bleach on, the lighter the secondary color will be. For example, on a black shirt, the bleached part may start out appearing orange, but the longer it sits, it’ll continue to lighten to a whiter color. This depends on the colors that went into making the shirt look black. Afterward, you can add colored dye to those bleached areas, if desired.
Materials
When deciding what materials to dye, stick to more natural and absorbent fibers such as cotton, rayon, hemp, or linen. Polyester-like material won’t hold the color, and it may bleed. When using slippery, non-absorbent materials, there’s a chance most of the dye will wash right out of it.
As for what type of item you dye, the possibilities are expansive. Consider choosing items with a focal point for maximum uniqueness, such as a shirt with a vintage screen-printed graphic decal or a dinosaur fossil t-shirt. Using masking tape to protect the graphic, and tie-dye however you please!
Accounting for some essential tips for the best items to tie-dye, you’ll surely be on your way to the finest work you’ve ever created when it comes to your wardrobe modifications.


